
In this tutorial series will we walk through a real life example of how Edge Connect can simplify your Salesforce integrations. We will be playing the role of an IOT company creating smart thermostats. The company goes by the name Edge Temp. They use Salesforce currently to manage customers but they want to expand what is done in Salesforce.
Over the course of this tutorial you will learn:
1. How to create Salesforce integrations using are simple drag and drop UI.
2. How to connect accounts.
3. How to debug using are logs.
4. How to create custom connectors for your own apps using JavaScript.
Each Part will cover a integrations that Edge Temp needs to setup. Them ingratiation are:
1. Quickbooks - To auto create invoices and send them.
2. Twilo - To auto text customers the day before their appointment.
3. TypeForm - To allow technicians to register device.
4. ChatGPT - To help technicians diagnose problems.
5. Creating a custom Kafka connector using JavaScript.
6. Using the Kafka connector to listen for errors on devices.
7. Using the Kafka connector listen for health check to verify device is online.
Lets get started on part 1!
Edge Temp has just signed up for Edge Connect and is eager to get started! There first task on the list is to integrate Quickbooks. Currently when a opportunity is set to the bill stage there sales rep must login to Quickbooks to create the invoice. They want to automate that and send the invoice automatically. The customer already exist in Quickbooks. Looking through the integrations that are prebuilt on Edge Connect they notice that Quickbooks is there and supports invoice creation and sending. Lets get that setup.
After logging into Salesforce we can navigate to the Edge Connect app. You will be asked to create an account when you first use it. After creating your account lets navigate to the Edge Connect Flows tab and create a new flow by clicking the new button.

We will call this flow Quickbooks invoice. Once it is created you can click on the editor and after a few seconds you should be presented with a screen like this.
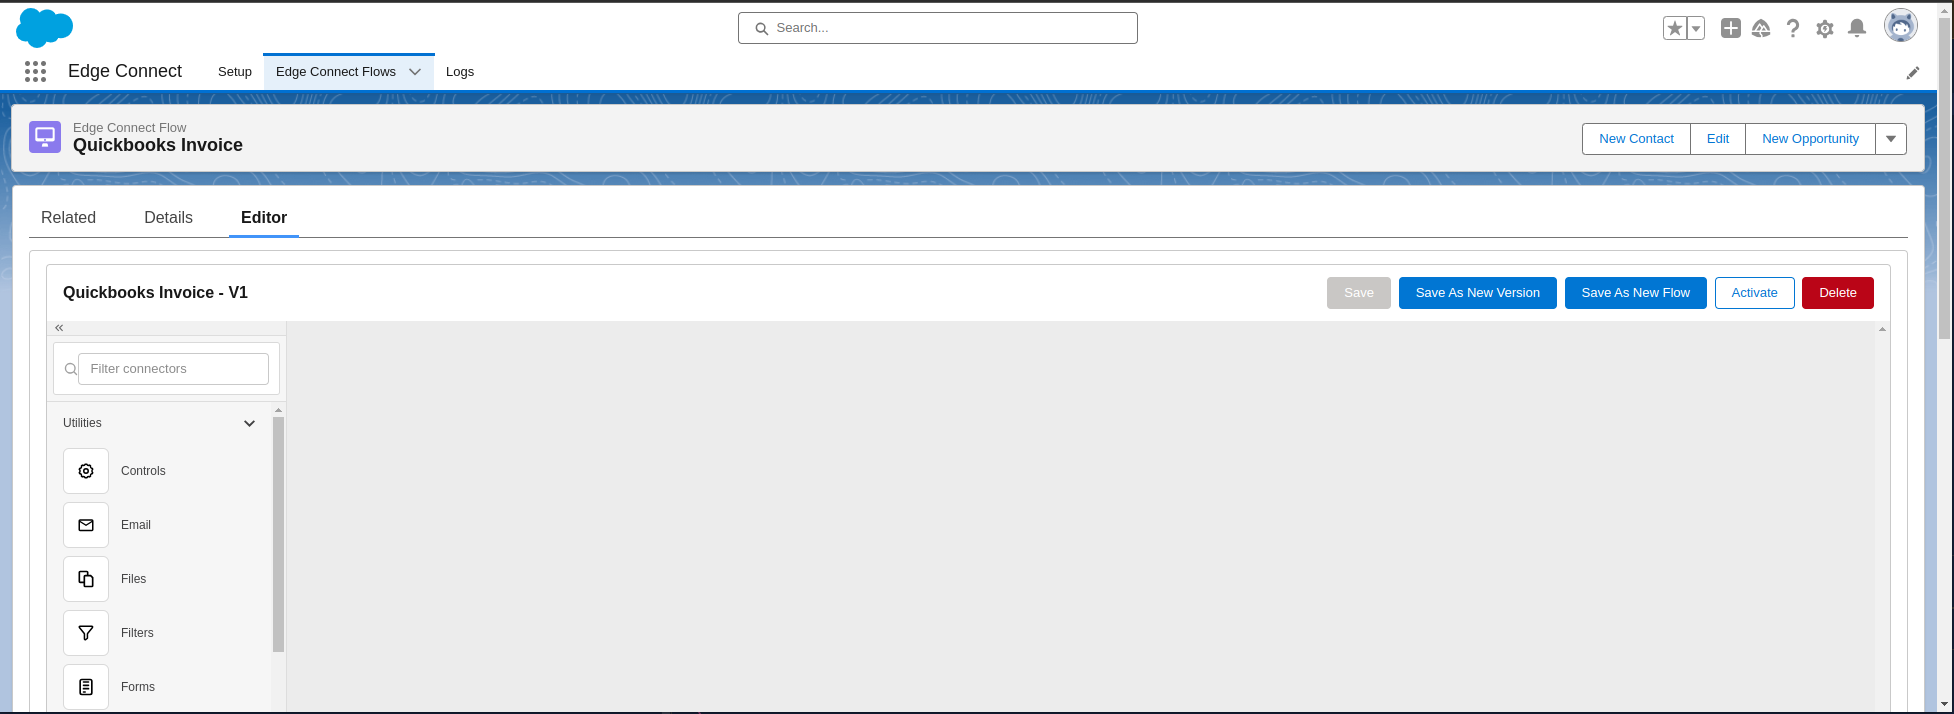
This is the editor when you will build out the flow and configure this integration.
Lets add in the Salesforce listener to start the flow every time an Opportunity is updated.
Drag and drop the Salesforce connector onto the editor. Once you do you will be presented with a screen like this:
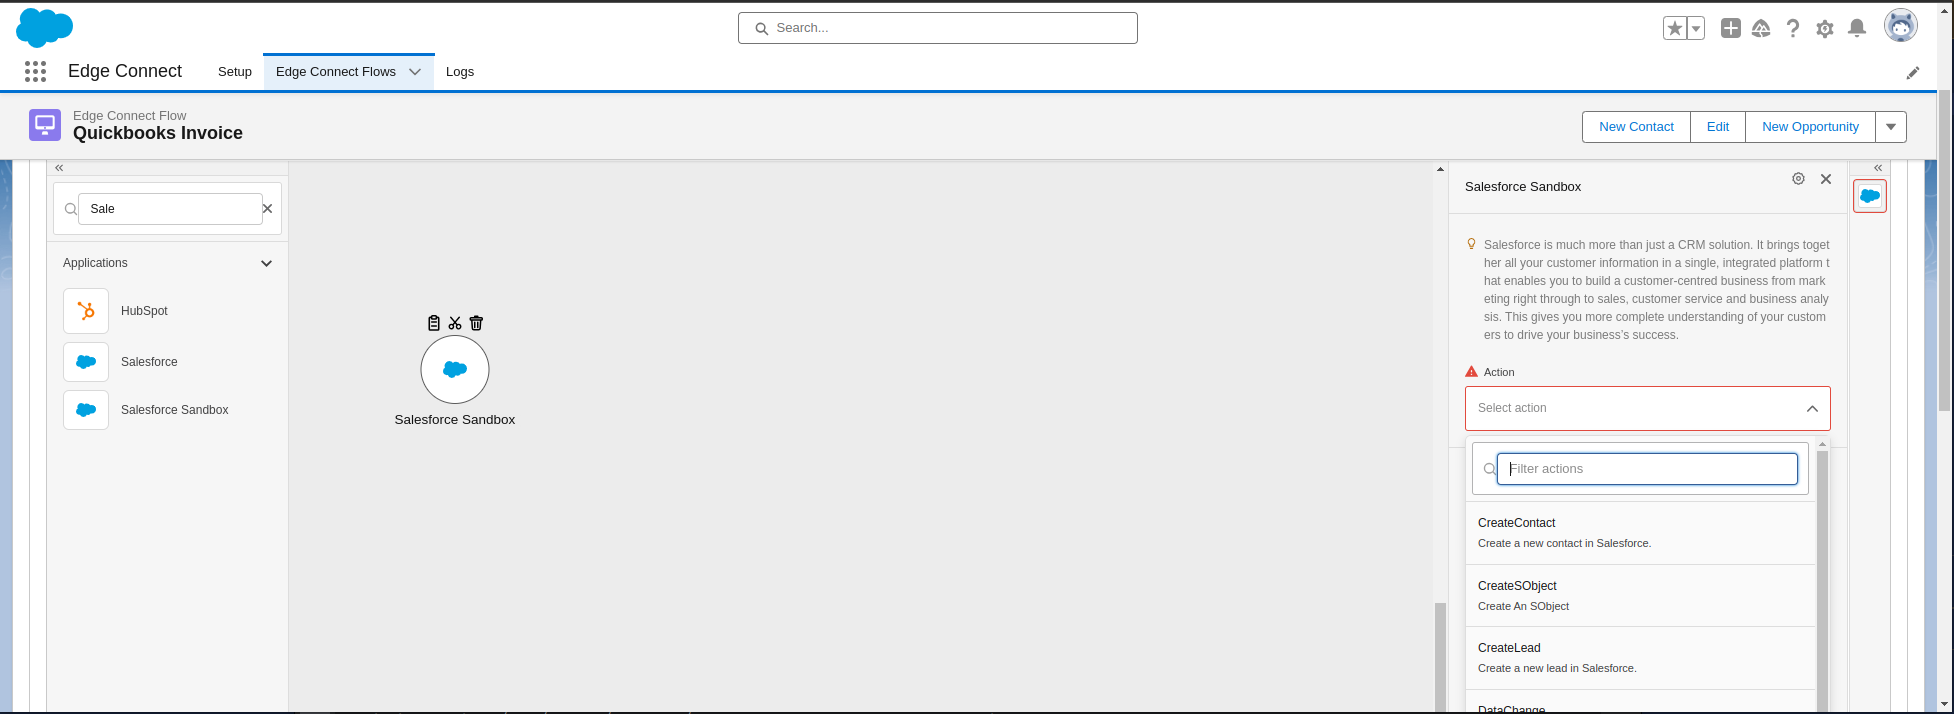
Search for UpdatedSObject and click on it. After that you will be presented with a screen like this:
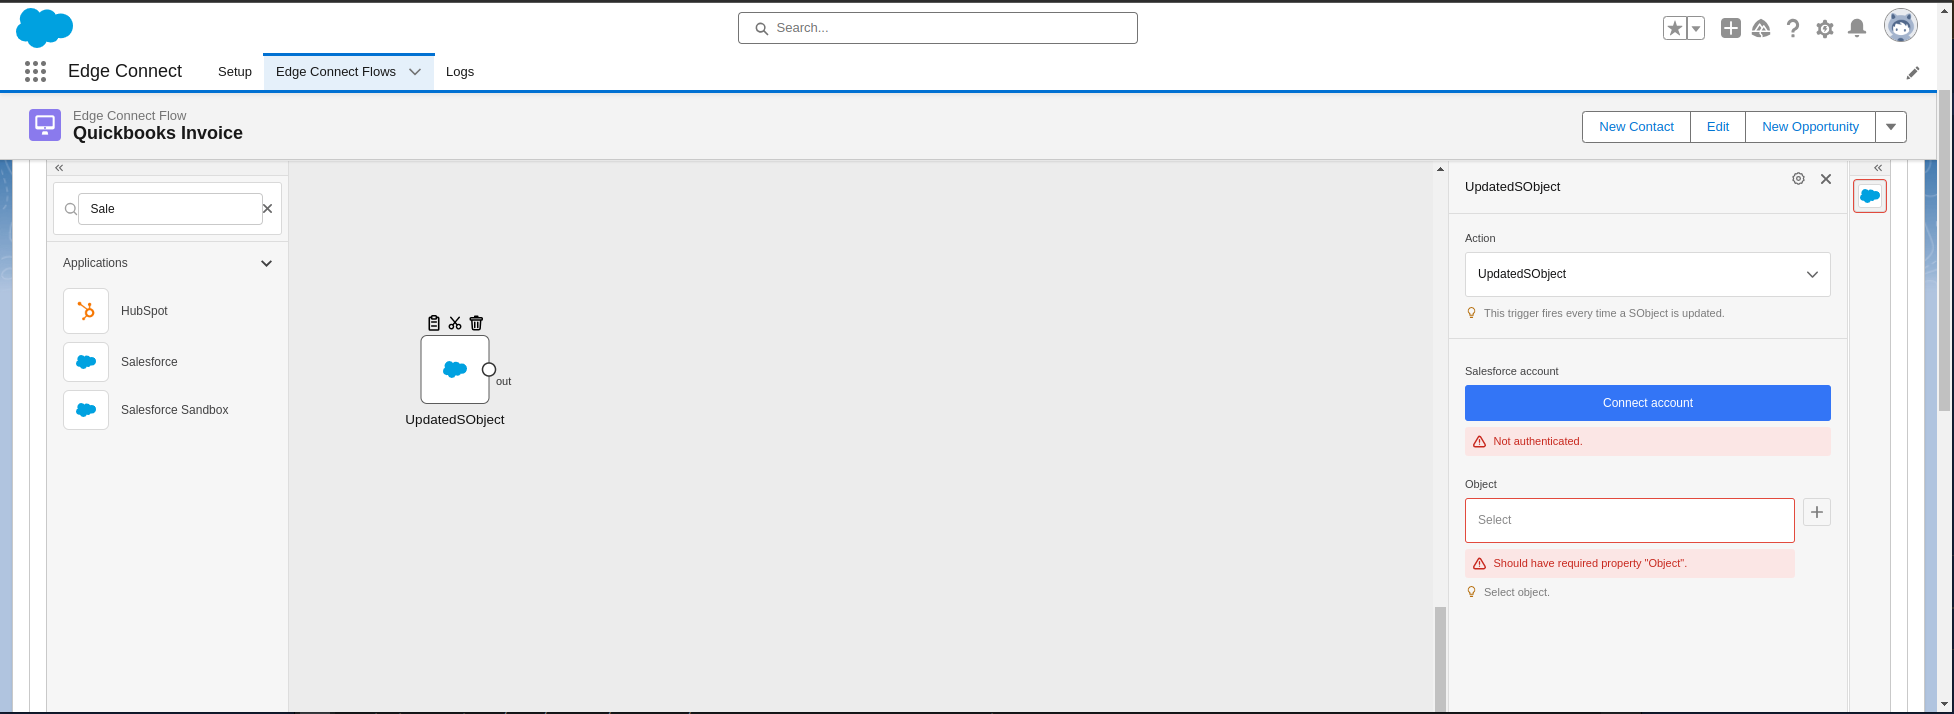
Click Connect Account and login to your Salesforce org. After logging in select a Salesforce Object to listen for updates on, in this case Opportunity. Next we will add a filter to see if the opportunity is in the bill stage. Drag and drop the filter connector on the screen and select the equals action. Connect the Salesforce connector to the the filter connectors in port. Now click on the plus icon next to data search for Stage. You will see a screen like this:
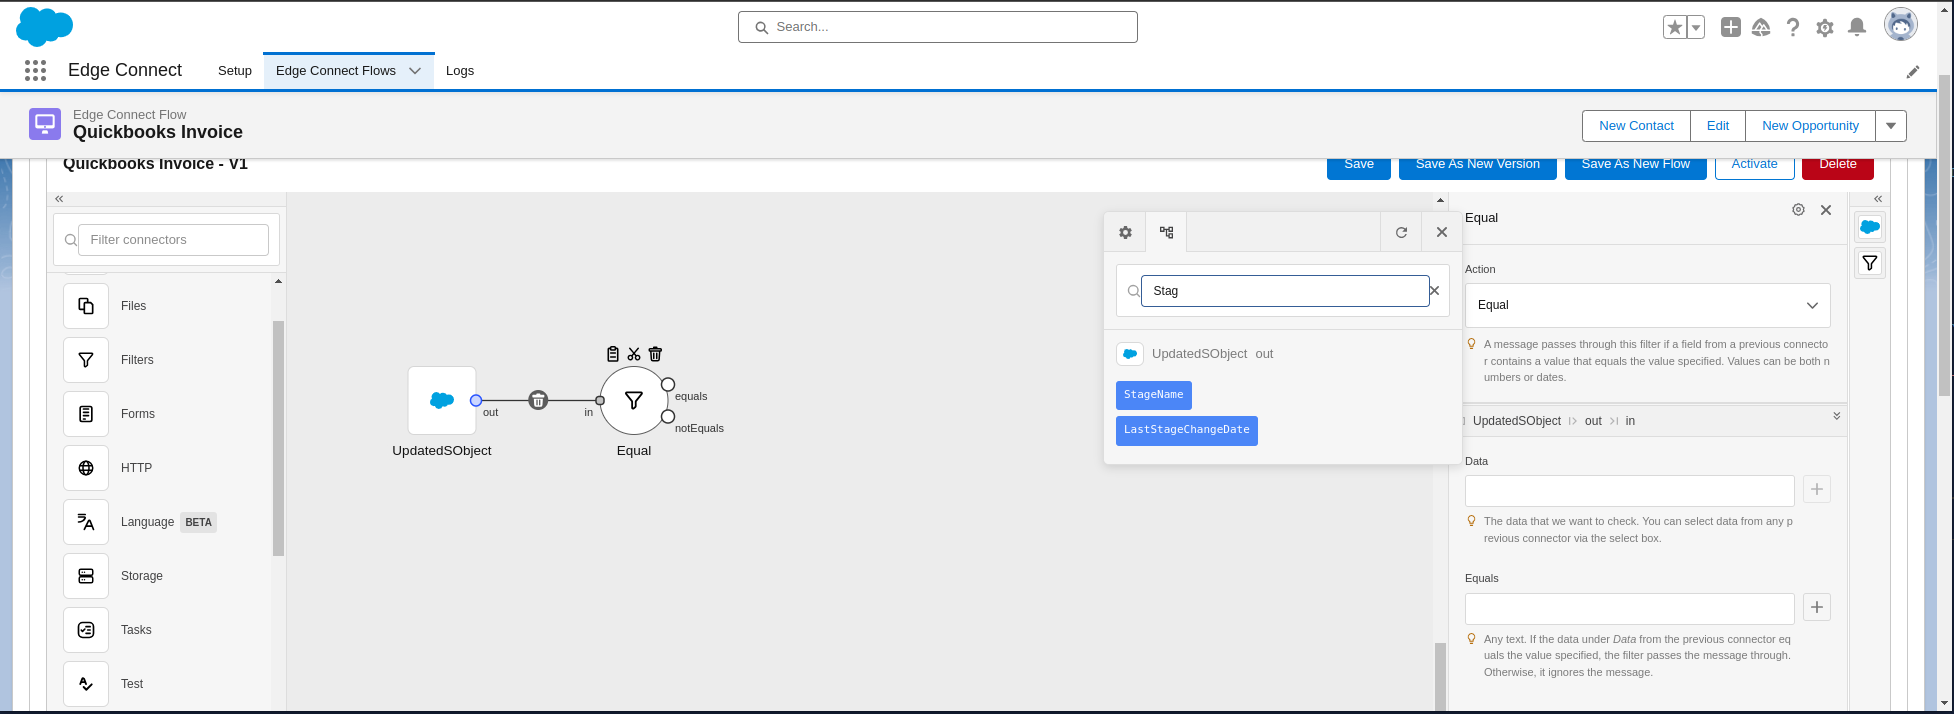
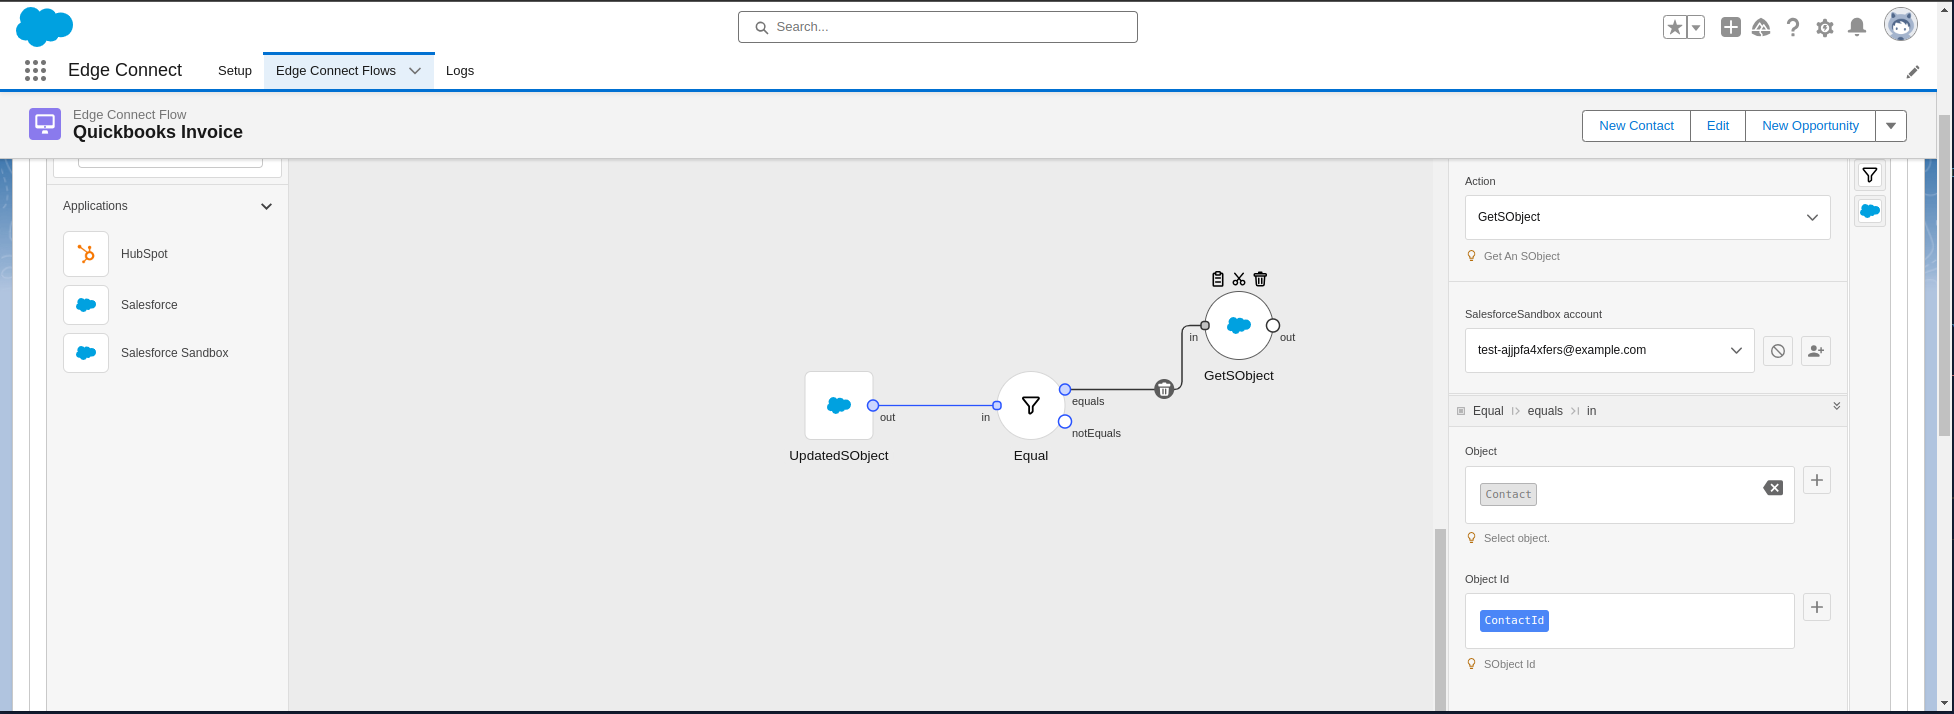
Select the StageName and set Equals to Bill. Now will will grab the contact from Salesforce using GetSObject. You will set the Object to Contact and the Id to ContactId. Your screen will look like this once complete:
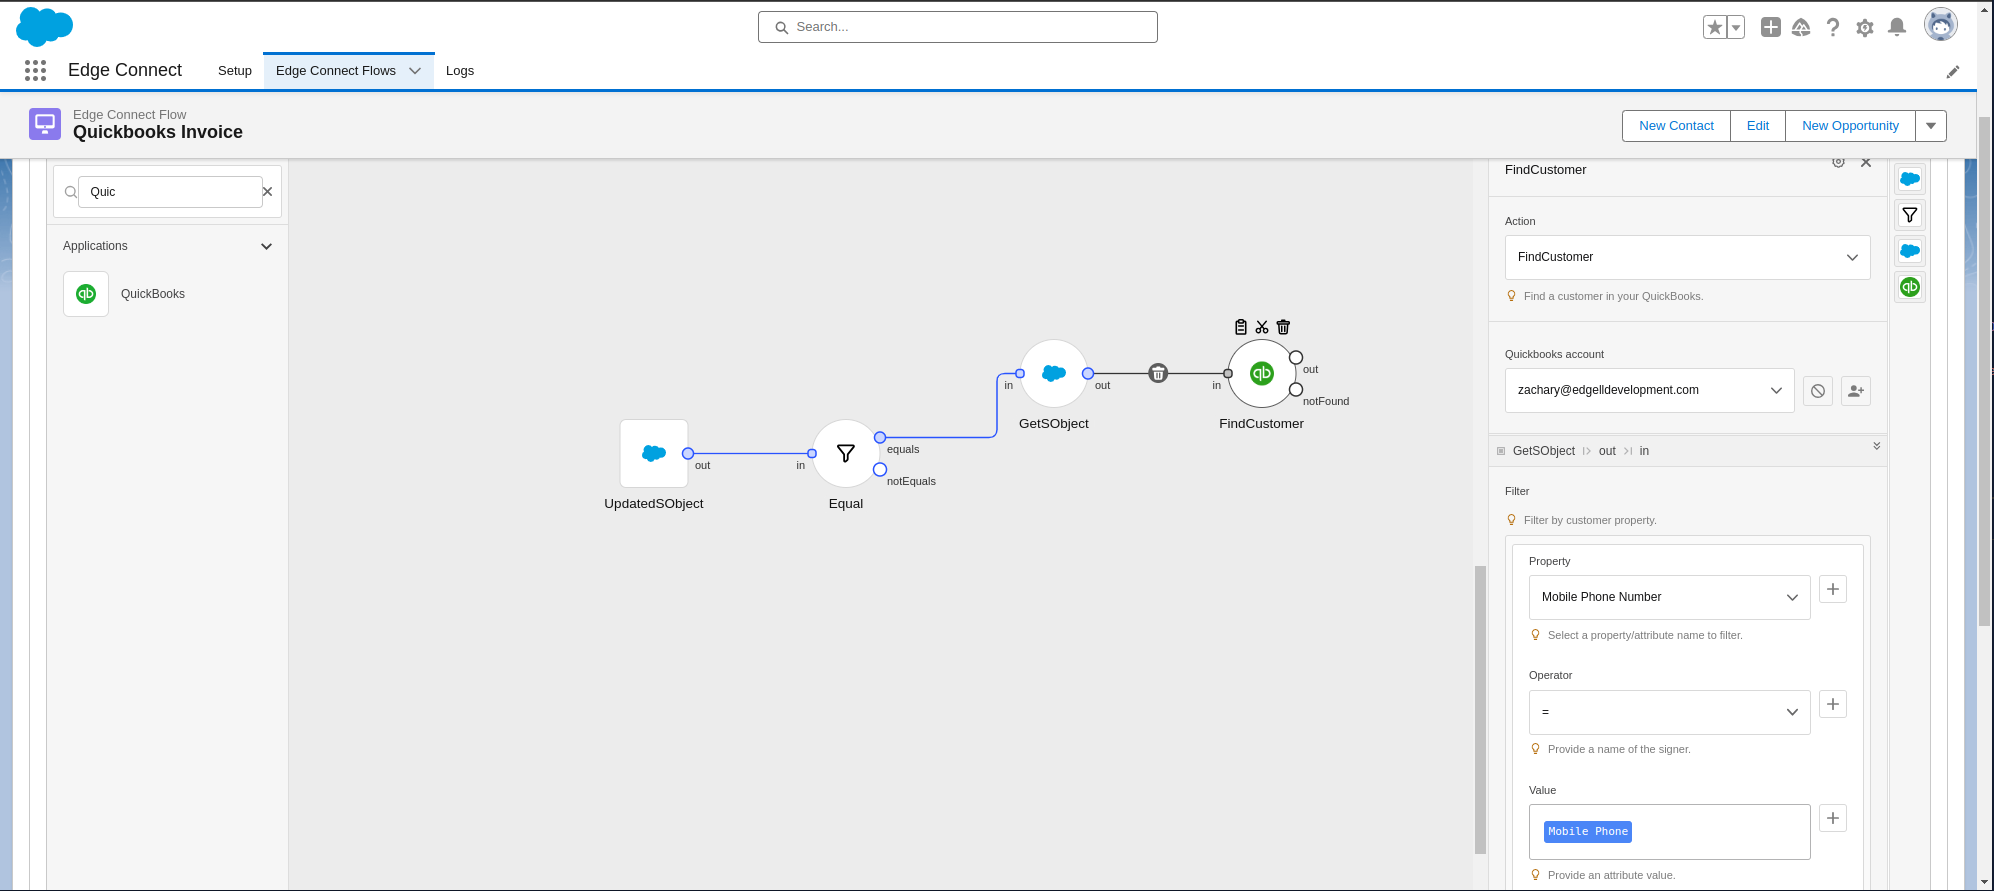
Now we need to find the customer in QuickBooks. To do this drag and drop Quickbooks onto the screen, select the FindCustomer action and connect your account. Now connect your out port from the Salesforce connector used to grab the Contact and and connect it to the in port on the Quickbooks connector. Once that is done we will find the Customer by mobile phone using the mobile phone field in Salesforce. Your screen should now looks like this:
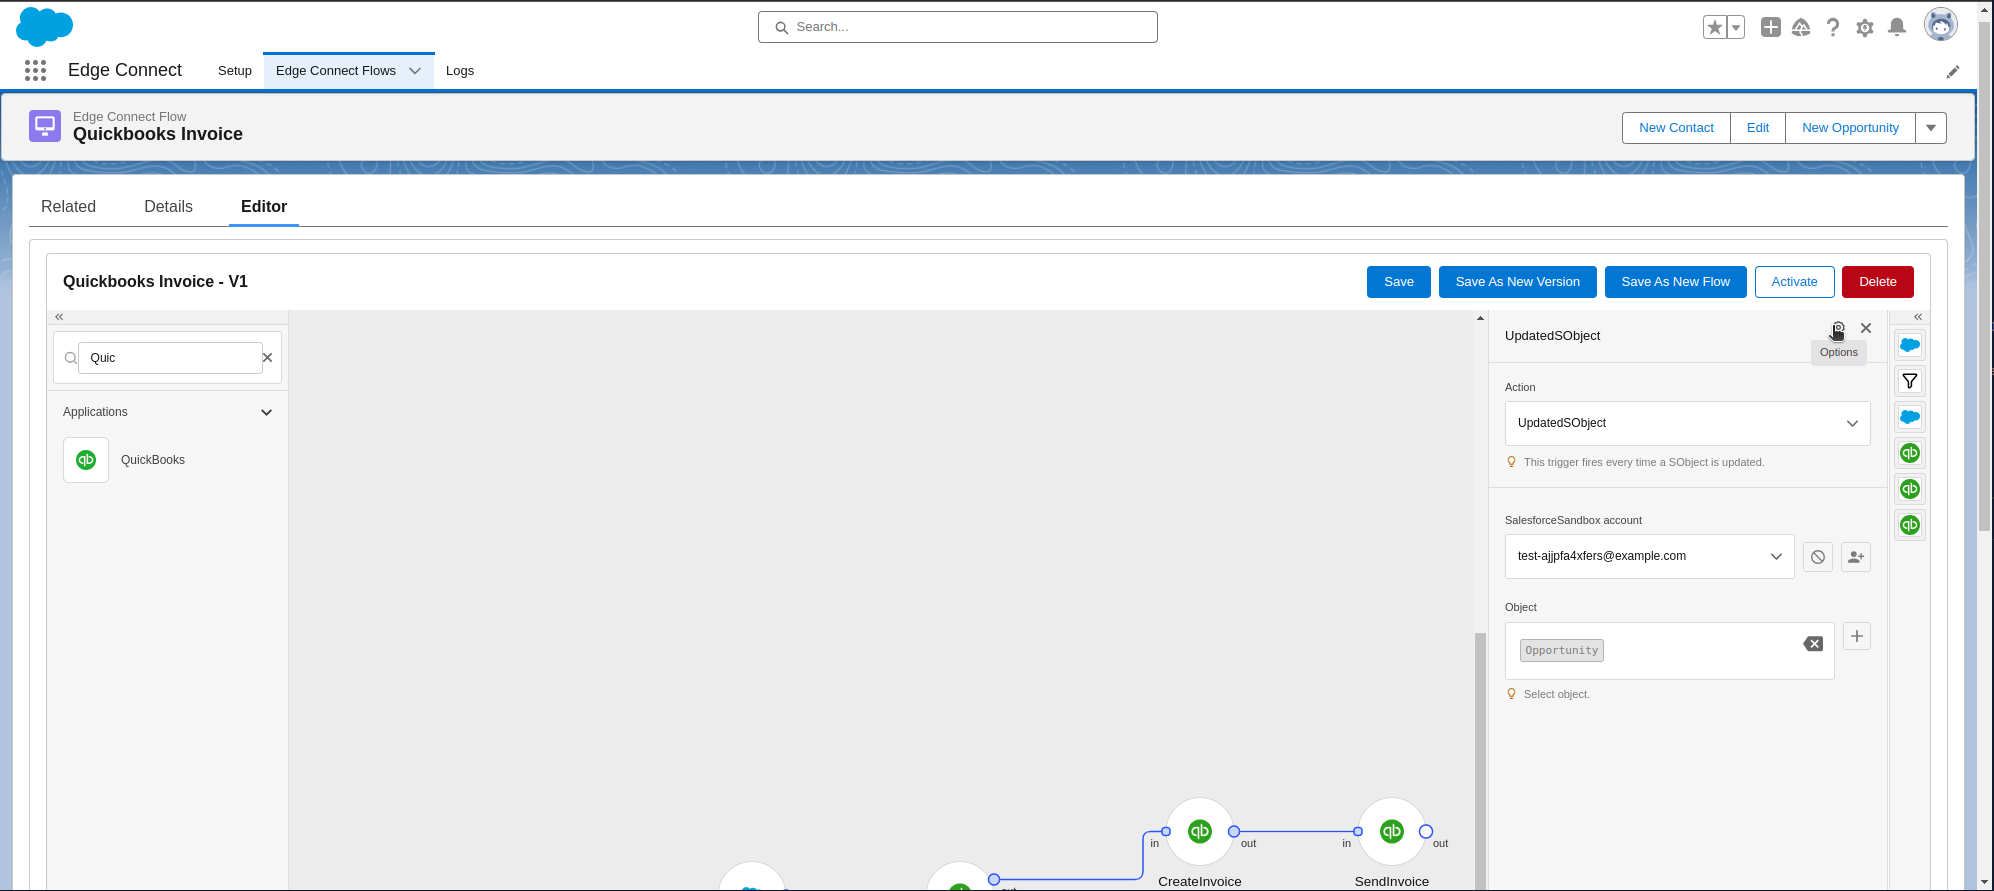
Now you add all the required info. For this tutorial we will say Edge Temp uses a flat fee for installs. Finally to finish the flow we will add the Quickbooks connector one more time and select the SendInvoice action and pass in the Id from the CreateInvoice action.
The Flow is now complete and works but lets do some cleanup and rename are connections so we know what they do in the future. To rename a connector simply click on a connector and click the gear icon in the upper righthand side of configuration screen as show in screen shot. The click rename and set the name to your choosing.
After all the renaming is done your final flow should look like this
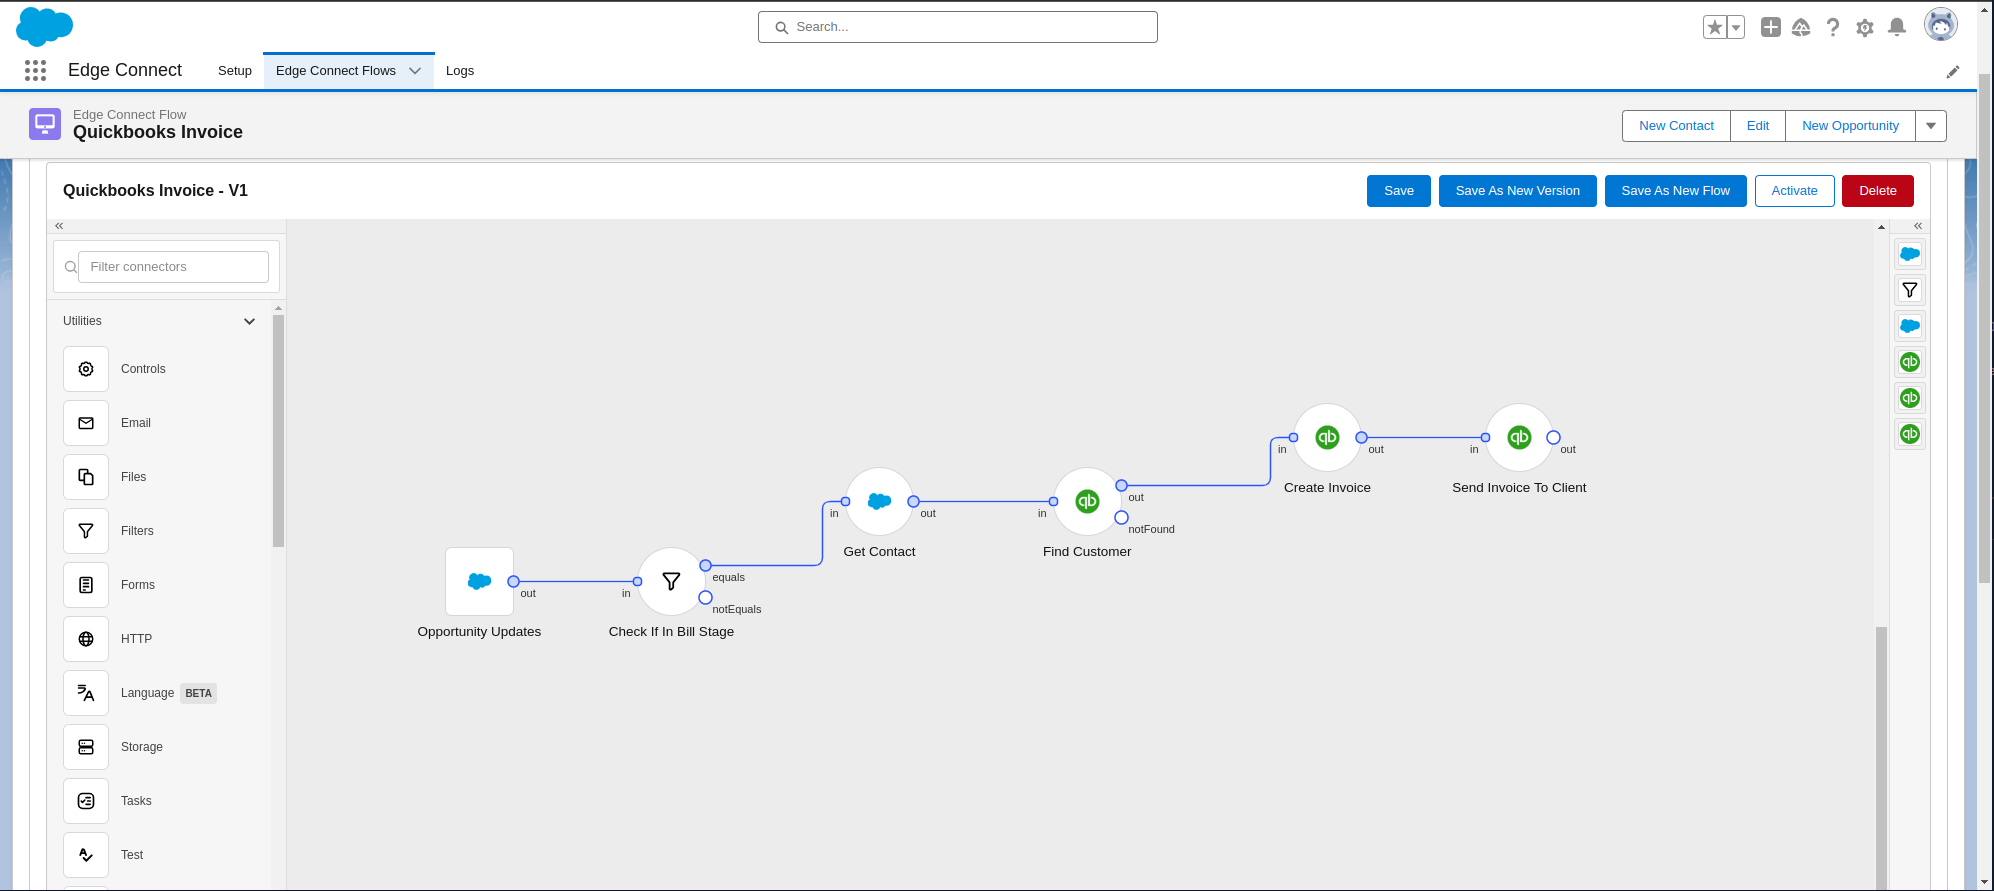
You can now save it by clicking the Save button and clicking Activate to start testing it out.
That is all for this tutorial. For part 2 we will talk about how to integrate Twilio. Hope to see you there.
If you are interested in trying Edge Connect visit edgeconnect.cloud.
Comments